how to make paint on a pumpkin dry faster
Using a foam paint brush. Let the first coat dry for about 15 minutes.

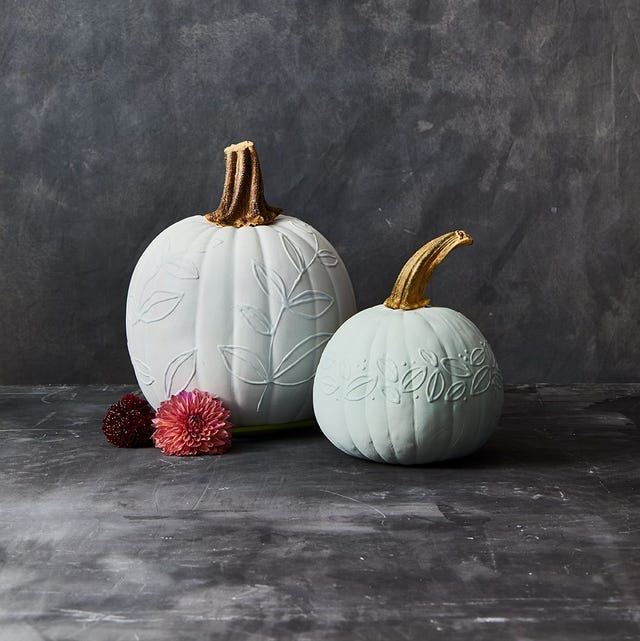
Pin On Autumn
Once the finish appears matte and free of any wet spots you can add a second coat for extra coverage or go straight to painting on your pattern.

. Close-up detail top half pour paint pumpkin. Punch holes in the top and bottom of the pumpkin and use wire to pull the twine through the holes. Make sure to provide space between the slices to allow the air to circulate around them.
Let the Pumpkin Dry in a Safe Clean Place. Use regular artists brushes or inexpensive craft brushes to paint the pumpkins. 4- Use Fans.
Paint the wood cube for the stem with the cream paint followed by dry brushing with green and brown in the same style as you did the pumpkin body. Because the pumpkin is round you will need to work on it one-half at a time. Second as we mentioned earlier make the environment as.
Wash with a mild soap and water solution. Select your base color then paint your pumpkin using your 3-inch paintbrush covering it completely. Close-up detail lower half pour paint pumpkin.
If you are using a real pumpkin them make sure you clean the surface thoroughly. Basically the problem you are facing is that the pumpkin surface is glossy and non-porous. One gallon water 2 tablespoons bleach and a squirt of dish soap Soak real gourds for 15 to 30 minutes.
The first thing I did to make my DIY pumpkin topiary is to take a bowl and an old candle from Walmart and stick them together with some E6000. Apply Base Sealer Coat. Set the microwave oven to high.
Apply sealer to your pumpkin. Cut the skin from the pumpkins and cut the flesh into slices. If the surface is smooth you may need to make a quick pass over it with some sandpaper to allow your paint to adhere to the surface.
If not microwave again for 5 minutes. Clean this brush thoroughly if you plan on using it for painting. Steam the pumpkin slices in a steamer or in a pot on the stove top for six minutes.
Spread the slices out evenly on a tray and lay them in the sun to dry for about two days or until completely dry. Or you can paint a small wall area and then dry the paint using a dryer or a heat gun before moving to the next wall. This will make your pumpkin last a lot longer.
You could try lightly sanding the areas you are going to paint with a fairly fine sandpaper. Acrylics dry quickly and cover fairly well suitable for painting small. So dry your pumpkin with a soft dry towel making sure to go over the pumpkin several times making sure it is dry.
Add small areas of color around the pumpkin or create a cohesive layered look by covering the entire pumpkin in one layer of paint and then adding more layers over the top. Paint bats on white pumpkins black paint or try using a black permanent marker. Usually it takes a couple of hours to dry completely.
Use a brush to apply a liberal coat of sealer evenly to the entire surface of the pumpkin and allow to dry thoroughly. If desired print out images to cut out and trace on the pumpkin before painting. Drying the pumpkin is important.
A bonus tiprub or spray a little bit of diluted bleach on the inside of your pumpkin. Use a tub or even your kitchen sink. Start with a clean dry pumpkin.
Repeat dry brushing with the brown then allow the pumpkin to dry completely. Give the second half time to dry before moving to the next step. Then set the timer for 15-20 minutes.
The better you can circulate the air the faster the paint will dryWhile painting you can point the heater at the wall you are trying to dry quickly. Spray paint your pumpkins with flatmatte paint its the fastest way to get a good base coat. Rinse and dry well.
There is nothing for your paint to adhere to. General tips for painting your pumpkin. Soak the pumpkin in a diluted bleach solution with a bit of dish soap.
I added a little bit of backing behind the face on the inside with the paper mache in a bag to give it more of a 3D look which wasnt that noticeable but oh well it kidna worked. Tie a loop in the other end. Allow the dried slices to cool for 5.
Allow the paint to dry completely. After 20 minutes get a slice to check if crunchy. Then paint the top by.
Give the sealer time to dry before you move on to paint the pumpkin. First make sure that the area is clean and dry. Before adding to your decor its optional to give your pumpkins a quick coat of spray matte sealer.
If the pumpkin stays wet it will start to make the outer edge age faster causing a soft pumpkin which will not last. If you plan to paint the stems spray paint those too. Set up a wire rack or pallet in a cool dry location in your home.
Allow drying for at least an hour. More drying wait time you can use your oven on the lowest setting to make it dry faster then I sanded it down and cut out a face with an exacto blade. Cut a length of thick jute and knot one end to a large washer.
Pour a good amount of paint onto your pumpkin starting at the very center. While the paint was drying on the tray I went ahead with the pumpkins. Place the pumpkin atop newspaper and pour some of the paint colors onto a paper plate or piece of cardboard.
Lightly dry brush on a rough coat of orange I used a chunky bristle brush for this. You want air to flow all around the pumpkins. Paint a Base Coat.
I found that it helped to gently tilt your pumpkin to help the pain flow a little faster and create. First start with your bare pumpkin. After about 15 minutes rinse the pumpkin thoroughly to remove all of the soap and bleach and then dry the pumpkin with a clean cloth.
That will add tooth to the surface like the roughness of paper that will hold the paint. Once the E6000 was fully dried I gave the candle and bowl a quick coat of textured spray paint to give them a cohesive look. Starting at the bottom again where the push pins are.
Apply the sealer to the first half allow to dry then apply to the second half. Pumpkins are glossy so the spray paint adheres really well. Prepare a mixture of bleach water and dish soap.
Here are my tips. Then after the 15 minutes start the second coat it wont be completely dry but its good enough to start the second coat.

The Best Painted Pumpkin Ideas From The Martha Stewart Living Staff Painted Pumpkins Pumpkin Halloween Decorations Pumpkin Decorating
70 Best Pumpkin Painting Ideas Painted Pumpkins For Halloween 2021

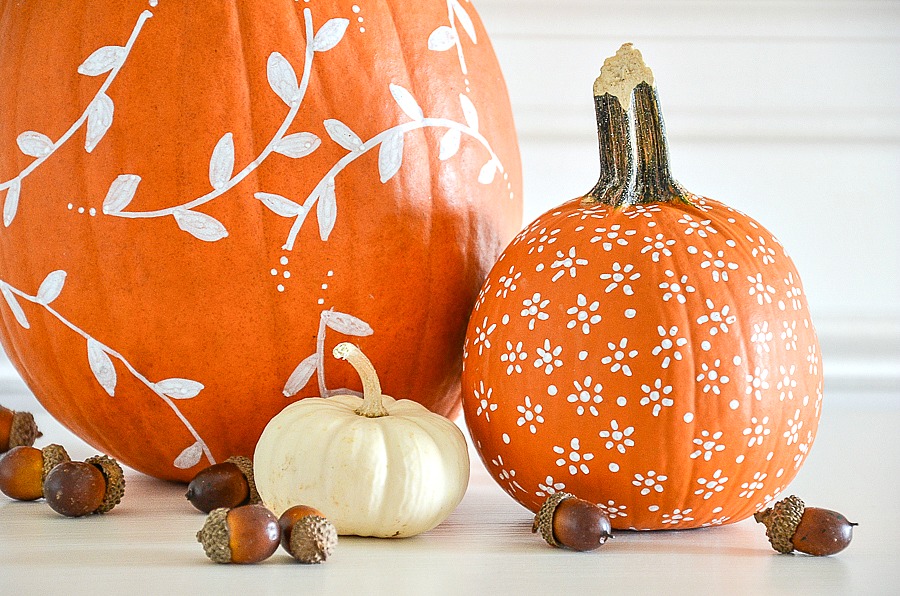
40 Cute And Easy Pumpkin Painting Ideas Hobby Lesson Creative Pumpkin Painting Pumpkin Designs Painted Pumpkin Decorating

White Painted Pumpkin Diy Stonegable

Art Projects For Kids What You Can Do With Orange Tape Halloween Pumpkins Pumpkin Decorating Halloween Crafts

Candy Corn Pumpkin Fast And Easy Way To Decorate A Pumpkin No Carving Needed No Carve Pumpkin Decorating Easy Pumpkin Decorating Pumpkin Decorating Contest
White Painted Pumpkin Diy Stonegable

Pin Em Objetos De Cobre

Genius Pumpkin Decorating Ideas To Try This Halloween Pumpkin Decorating Creative Pumpkin Decorating Painted Pumpkins

White Painted Pumpkin Diy Stonegable
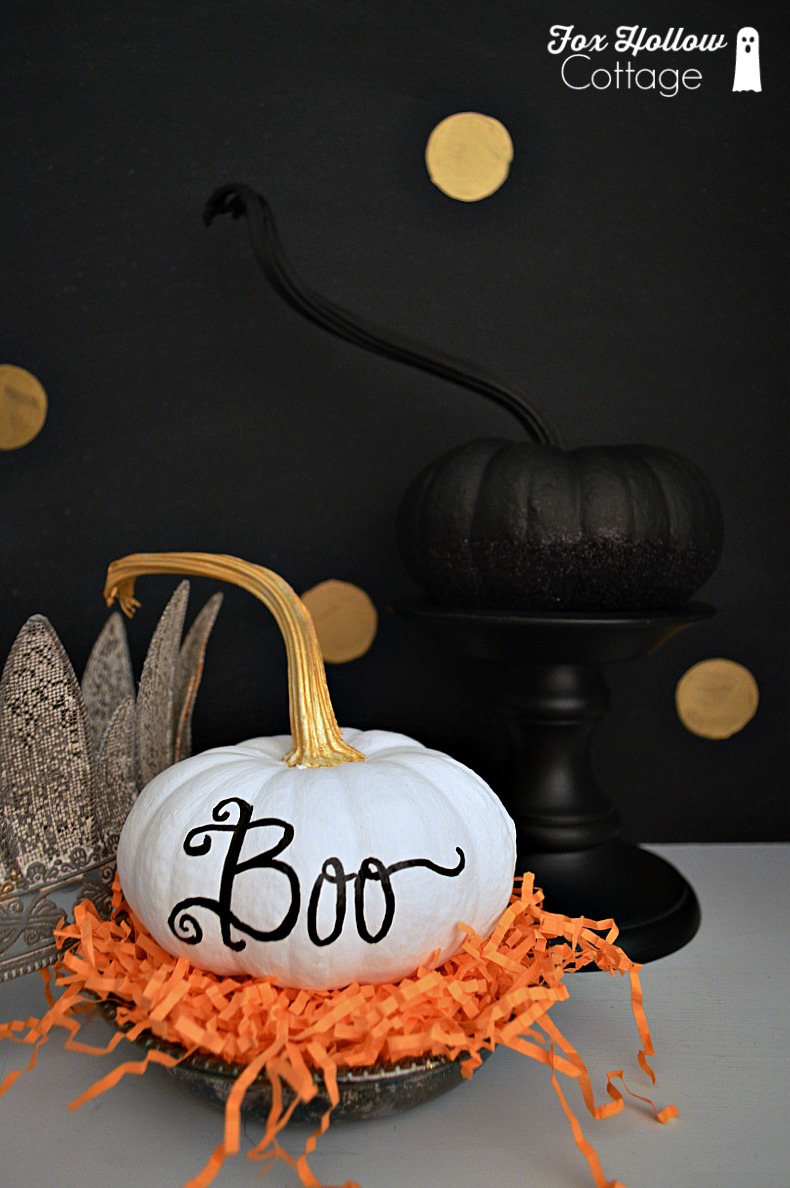
Painted Pumpkins Plus Tips For Great Results Fox Hollow Cottage
49 Easy Pumpkin Painting Ideas To Try This Year Decorating Pumpkins Without Carving Pumpkin Decorating No Carve Pumpkin Decorating

Pumpkin Orange Deep Space Black Plutonium Paint Plutoniumpaint Twitter Pumpkin Spray Paint Diy Spray Paint Spray Paint Projects

How To Get An Aged Zinc Look Fall Diy Fall Crafts Crafts

Garfield Painting Painting Using Acrylic Paint Small Pumpkins

How To Paint Pumpkins On Canvas Step By Step Painting Fall Canvas Painting Fall Canvas Painting Crafts

Diy Faux Mercury Glass Pumpkins With Foam Pumpkins Foam Pumpkins Glass Pumpkins Fall Decor Diy

A Haunted Home Not So Fast Painted Gourds Hand Painted Gourds Halloween Gourds

How To Paint Pumpkins The Right Way Scraplifters Com Pumpkin Painting Party Halloween Pumpkins Painted Pumpkin